Google Calendar Synchronization
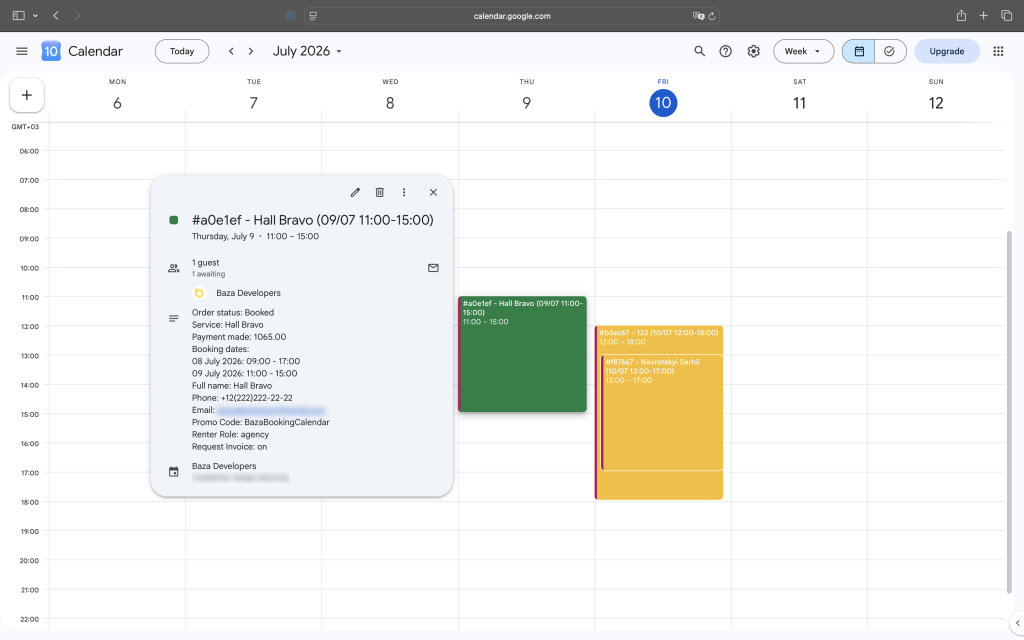
Setup
- Make sure the timezone in WordPress General Settings is set correctly so event times are accurate
- Open Google Cloud Console and create a new project or pick an existing one
- Go to Google Calendar API and click Enable
- Open the Credentials page, click Create Credentials and choose OAuth client ID
- Select Web application as the type
- Add the following as an authorized redirect URI: https://yoursite.com/wp-admin/admin.php?page=bbc-google-calendar
- Copy the Client ID and Client Secret into the fields on this page
- Check the synchronization checkbox and save
- Click Connect to Google Calendar and allow access
- Pick the calendar you want to sync from the dropdown and save again
Common Issues
redirect_uri_mismatch – the redirect URI you added in Google Cloud Console must match exactly, including the protocol and any trailing slashes.
access_denied – make sure you grant all the requested permissions when connecting your Google account.
Events not syncing – double check the timezone settings in WordPress and make sure synchronization is still enabled.
Connection lost – Google tokens expire over time. Just reconnect your account to restore sync.
Last Modified: 10.07.2026